Hello DIY enthusiasts!
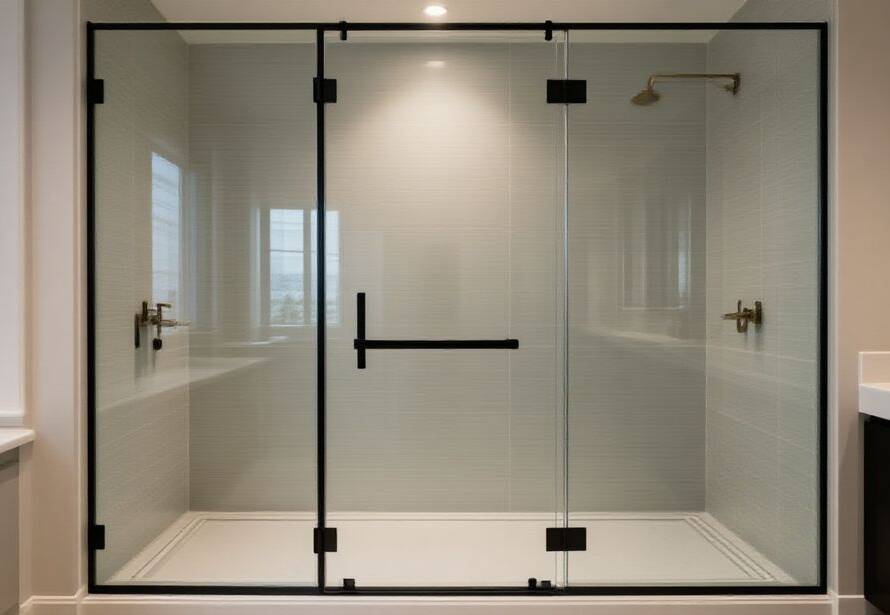
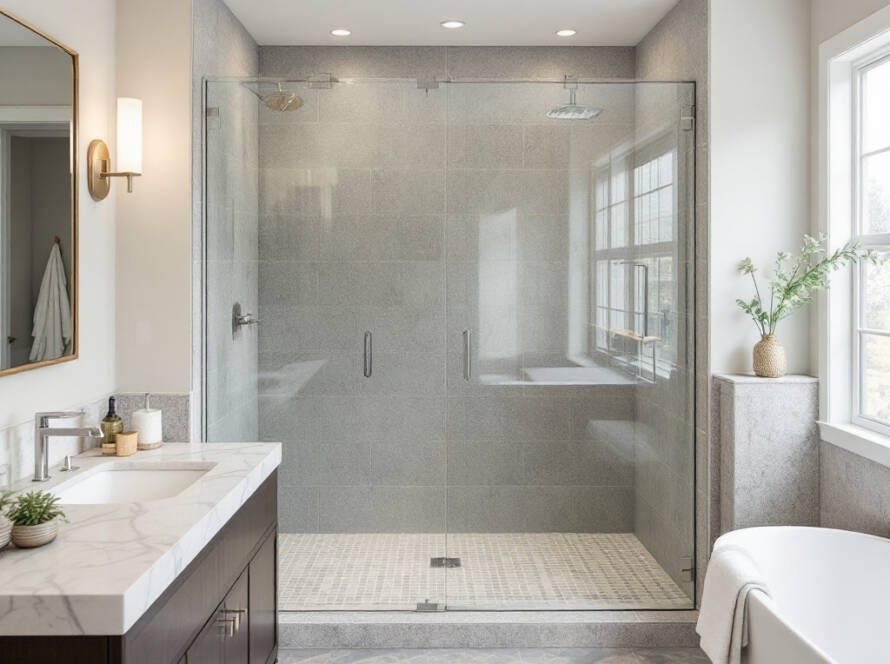
A perfect blend of sophistication and functionality, sliding shower doors have etched their place in modern home designs. Today’s blog post provides in-depth insight into the world of ‘sliding shower door installation‘, a DIY-focused guide tailored for homeowners, decorators, and everyone in between.
At our reputable Glass Shower Doors Installation company in Boston, we duly understand your need for personalized and unique spaces. Our professional team believes in empowering our clients with the knowledge to make informed decisions, whether it’s a new installation, renovation, or minor tweaks!
Let’s dive into the step-by-step process of sliding shower door installation.
STEP 1: MEASUREMENTS IS THE KEY
Start by measuring the width of the shower opening in two areas: the top and bottom. Use a level to ensure accuracy, then measure and note down the distance from the top of the tub or shower base to the desired height of the shower door.
STEP 2: SETTING UP THE BASE
Once measurements are ready, align the bottom track on the center of the shower base. Mark the ends of the track for later drilling, a pivotal step in the sliding shower door installation process.
STEP 3: ATTACH THE SIDE JAMBS
After drilling holes, it’s time to attach side jambs. For this, use the screws provided and add silicone sealant to every hole before screwing. This helps prevent water leakage, ensuring a smooth sliding shower door installation.
STEP 4: SET UP DOOR GUIDES
Next, attach the door guides to the middle of the base track. This step is essential for the door to slide in the correct path, thus emphasizing precision during installation.
STEP 5: PLACE THE DOORS
Carefully slide the inside door into the opening, followed by the outside door. Check if the doors slide smoothly and if properly aligned, secure them with jamb caps.
STEP 6: INSTALL THE DOOR HANDLES
Lastly, install the door handles as provided in your kit. Congrats, you’ve successfully installed a sliding shower door!
With this guide, sliding shower door installation becomes not a task, but a delightful DIY adventure! But if you’d rather leave it to professionals, our Glass Shower Doors Installation company in Boston is just a call away. Serving Boston and beyond, our passion lies in creating custom glass enclosures that redefine beauty.
Remember, every task that seems complex at first becomes simpler when broken down into manageable parts, and the process of sliding shower door installation is no exception. Embrace the DIY spirit and bring a touch of personalization to your space.
If you have any further queries about sliding shower door installation or wish to engage with our professional services, feel free to reach out. We are always eager to assist our clients in making their home design dreams come to life!
Tags: #SlidingShowerDoorInstallation #DIY #HomeDecor #InteriorDesign #GlassShowerDoorsInstallationBoston #BathroomDesign